Industrial image processing
- Development and production of vision systems
- Our company has been a Cognex systems integrator partner for 12 years
- 2D and 3D vision solutions for quality control, process control, robot control
- 15 years experience in design, programming and commissioning of vision systems
- 30 years experience in industrial automation
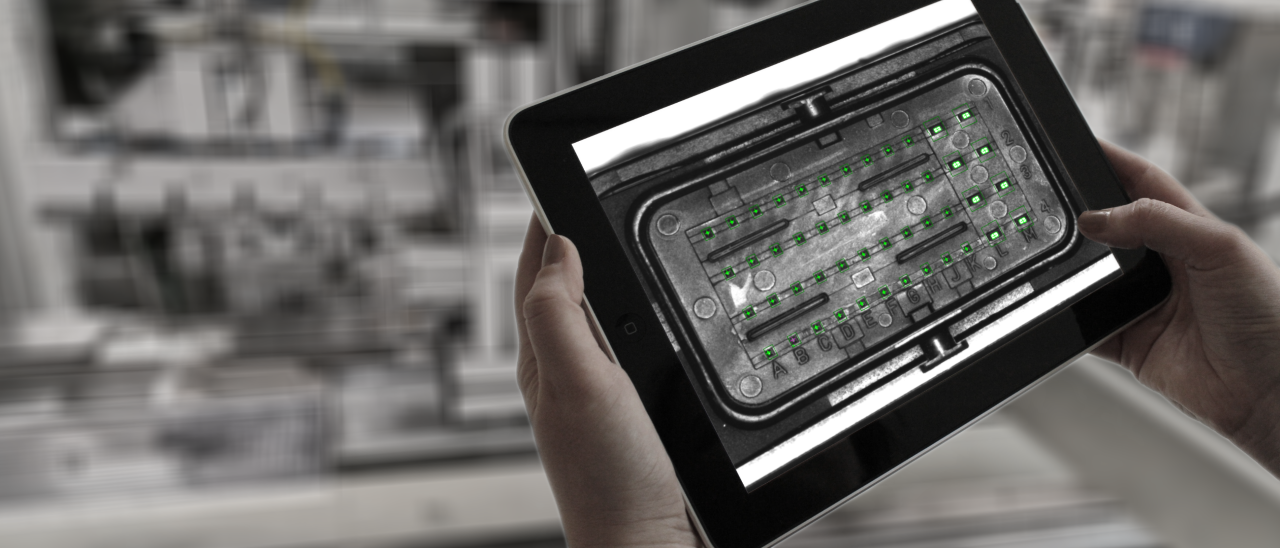
Design, manufacturing, integration
- Design and manufacture of measuring and control stations based on image processing
- Vision cells, target machines to be integrated into production lines
- ISO 9001:2015 certification for the manufacture of custom vision machines
- Design and construction of vision systems for existing or new machines
Software development
- Vision software development with Cognex In-Sight/VisionPro/ViDi tools
- Development of custom image processing algorithms and procedures
- Barcode, character reading control systems
- Image analysis systems generated from product specification data
- Development of vision based measurement data acquisition systems, MES communication
- PLC and microcontroller based control programming
Instrumenting, monitoring
- High reliability field measurement systems, data loggers
- Aviation fuel additive equipment
- Web-based SCADA systems, displays
- Customer specific data converter and data concentrator modules, software
- Measurement and control systems for explosion proof environments






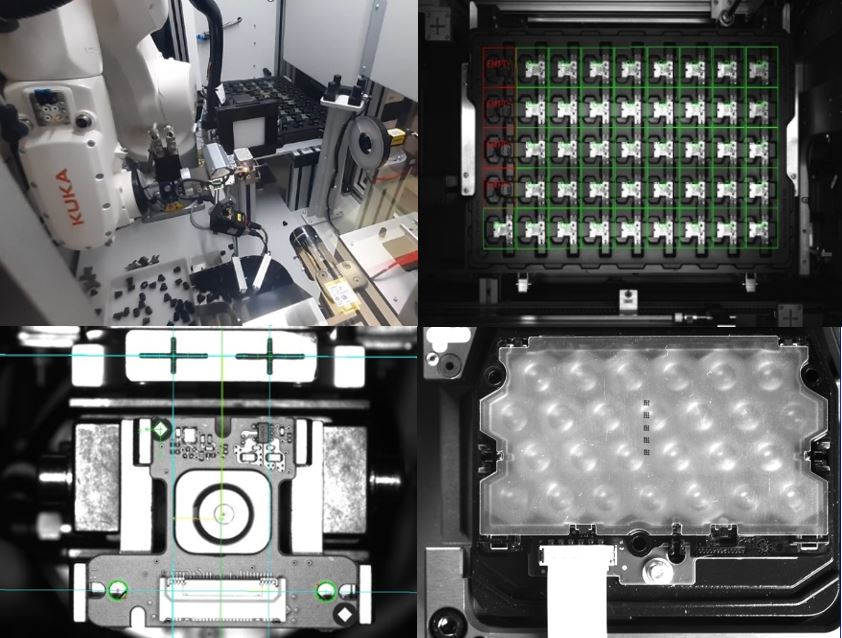
Robot positioning, position measurement
- High precision positioning with PatMax algorithm
- Elimination of distortions due to lens or viewing angle by non-linear calibration
- Simultaneous quality control and position testing
- Handling changing light conditions
- 3D solutions, bin-picking tasks
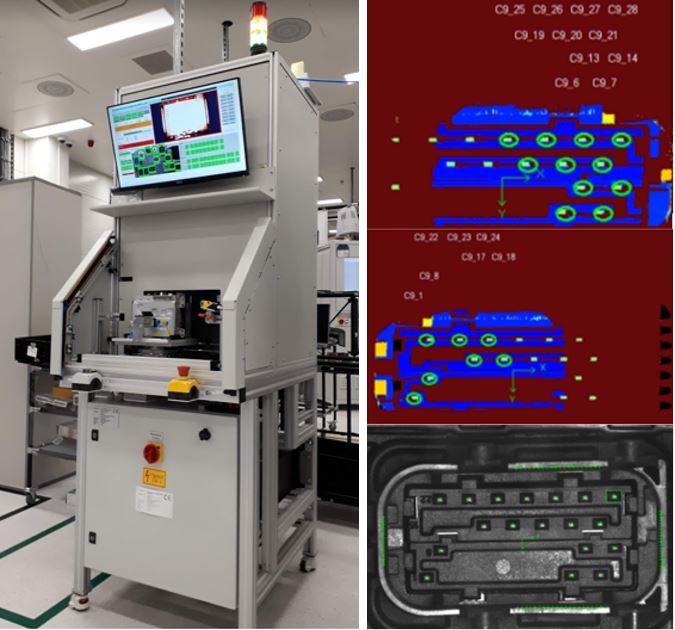
Connector and pin check
- Pin deflection measurement with +/- 0.01 - 0.02 mm accuracy
- Pin length measurement with +/- 0.02 mm accuracy
- Pin measurement with connector insertion compensation
- Connector damage inspection with combined illumination
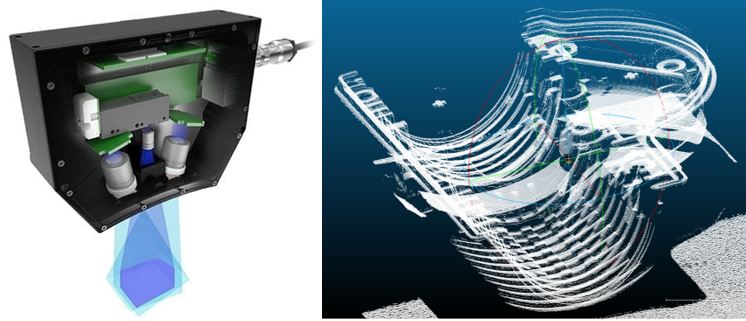
Geometric measurement of products with 2D and 3D imagers
- Non-contact geometric checks and measurements integrated in the production line
- High resolution 2D cameras, telecentric lenses, structured illumination
- Factory calibrated high accuracy 3D measurement scanners, snapshot cameras
- Use of multi-vendor 3D imaging tools
- Combination of 2D and 3D measurements
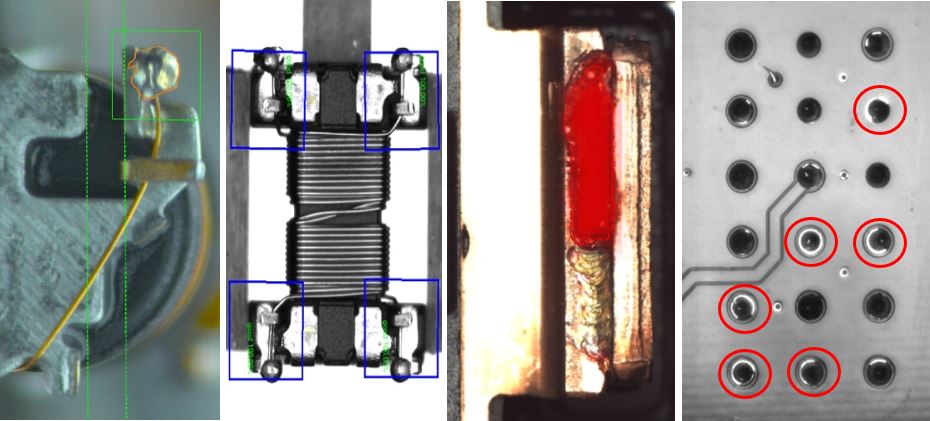
Soldering, welding test
- Verification of weld shape and errors using ViDi (deep-learning) algorithms
- Checking the existence and completeness of soldering
- Inline inspection stations with macro lenses, special illumination
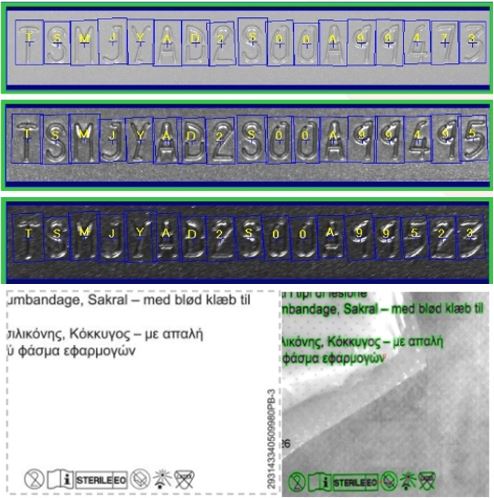
Text and label inspection
- OCR verification with the Cognex OCRMax algorithm
- DeepLearning based caption reading (ViDi Blue tool) for checking difficult to read captions
- Sample (print image) verification with adjustable tolerances
- Inscription, code validation based on PLC, database or MES data
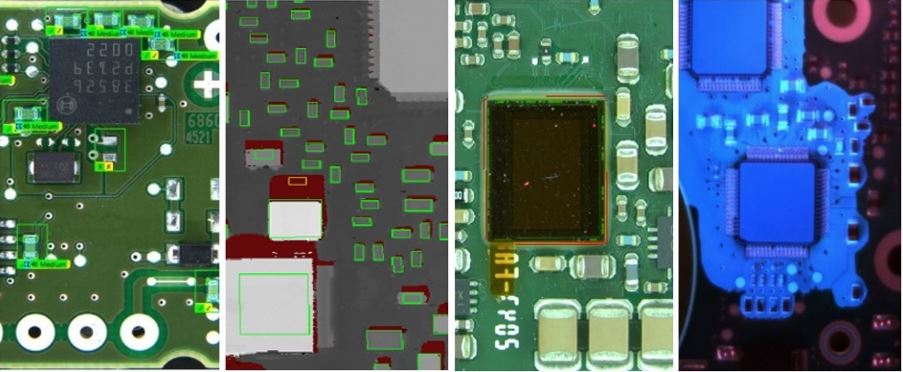
PCB inspections
- Component insertion check (existence, polarity, type check)
- Component position check
- UV reagent varnishing check
- Check adhesive application
- Contamination, damage inspection
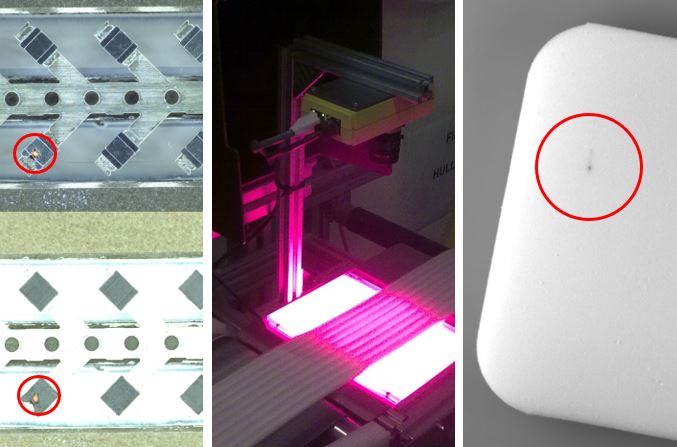
Inspection for damage, surface defects, dirt
- High-speed testing, even while the material is moving
- Rule-based and deep-learning vision algorithms
- Detection of colour, texture or pattern variations with tolerance limits
- Surface inspection, damage inspection
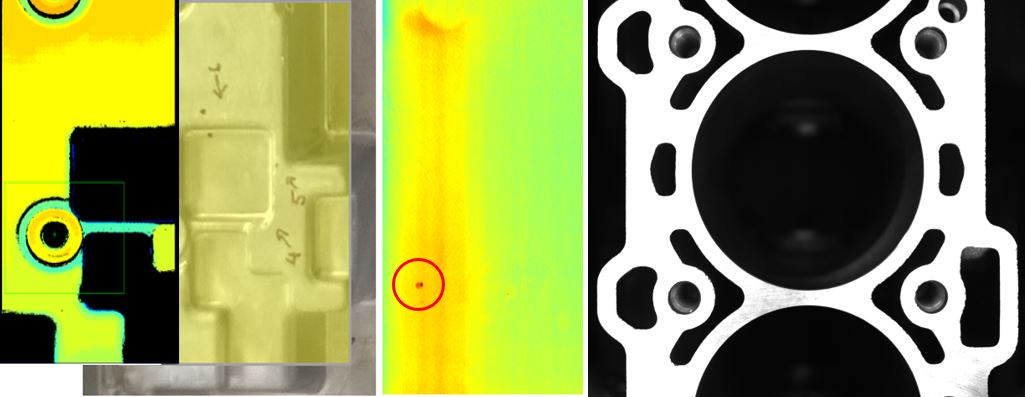
Flatness measurement, surface defect inspection, porosity testing
- 3D flatness measurement with an accuracy of up to 1 µm
- Detection of local surface irregularities with an accuracy of 10-30 µm
- Polished surface porosity testing with special illumination or 3D scanner
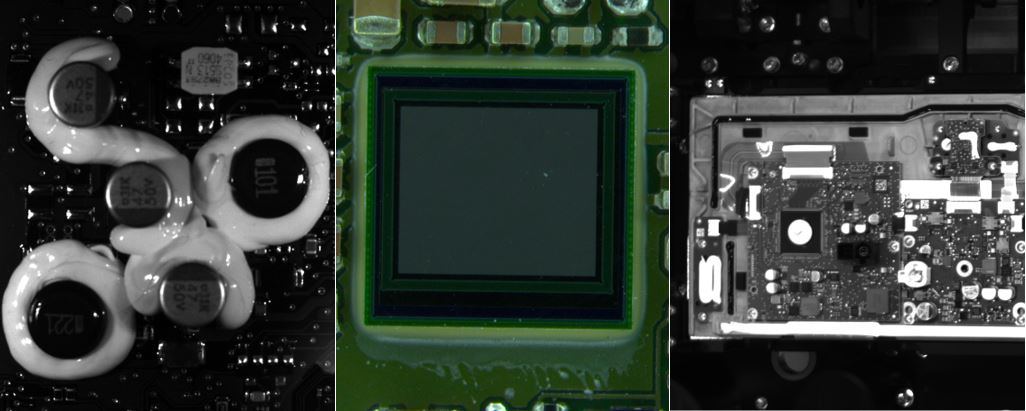
Bonding, sealant testing
- Checking the application of adhesive, sealant
- 3D tests to check quantitative data
- Trace inspection
- Checking "forbidden" and "mandatory" areas, adjustable thresholds
- Special lights for proper highlighting of adhesive
